
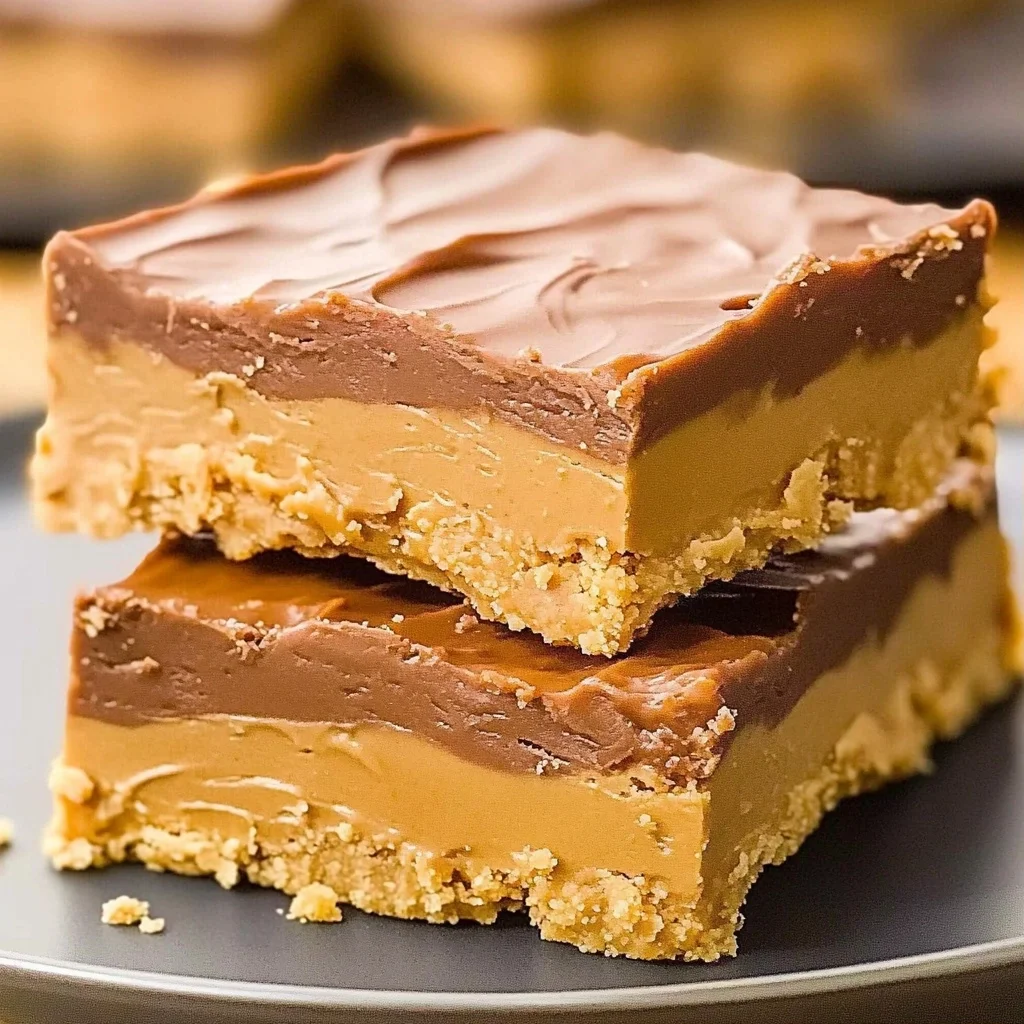
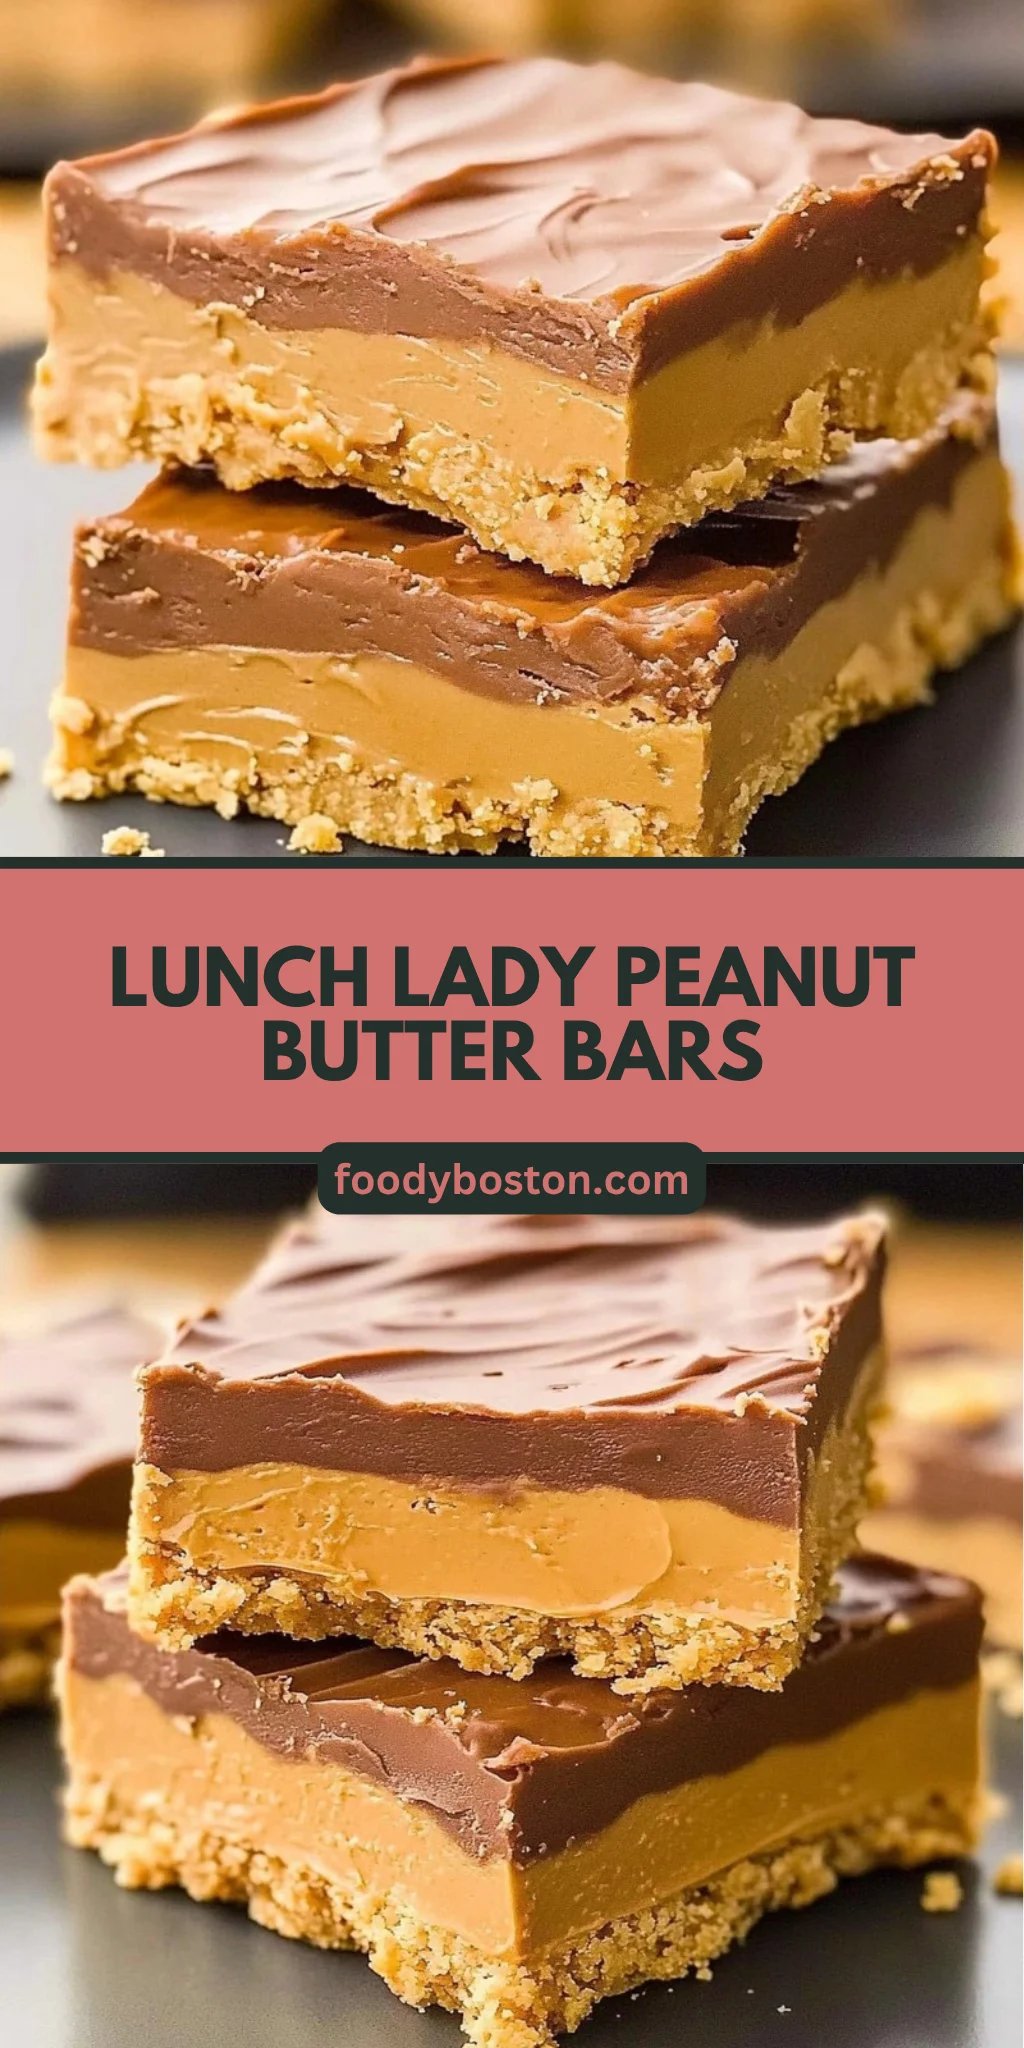
Imagine sinking your teeth into a warm, chewy peanut butter bar that melts in your mouth, releasing a comforting wave of sweet nostalgia. These lunch lady peanut butter bars are not just a treat; they evoke memories of carefree school days, where the lunchroom buzzed with excitement and the aroma of freshly baked goodies filled the air, making each bite a delightful escape from the ordinary.
As you take another bite, the creamy peanut butter flavor dances on your taste buds, perfectly balanced with just the right amount of sweetness. Whether it’s a rainy afternoon or a packed lunchbox moment, these bars promise to whisk you away to simpler times while satisfying your cravings for something truly delicious. Get ready to experience a flavor explosion that will have you reminiscing about your favorite school lunches!
Why Is lunch lady peanut butter bars So Irresistibly Good?
Rich in flavor, these lunch lady peanut butter bars are a nostalgic treat that brings back fond memories. Super easy to whip up, you’ll have them ready in just 35 minutes! Versatile and customizable, add chocolate chips or drizzle extra peanut butter for an indulgent twist. Perfectly chewy and satisfying, they make the ideal snack for lunchboxes or as a sweet pick-me-up any time of day. Family-approved, these bars are sure to please both kids and adults alike!
Ingredients for lunch lady peanut butter bars
- For the Batter
- 1 cup unsalted butter (softened) – This brings richness and a tender texture to your bars.
- 1 cup granulated sugar – Adds sweetness and helps achieve that delightful chewy consistency.
- 1 cup brown sugar (packed) – The molasses in brown sugar enhances flavor and moisture.
- 1 cup creamy peanut butter – Provides a rich, nutty base that’s essential for these lunch lady peanut butter bars.
- 1 teaspoon vanilla extract – A splash of vanilla elevates the overall flavor profile beautifully.
- 2 cups all-purpose flour – Gives structure to the bars while keeping them soft and chewy.
- 1 teaspoon baking soda – Helps the bars rise slightly, creating that perfect texture.
- 1 teaspoon salt – Balances sweetness and enhances the flavors of all ingredients.
- For the Topping
- 1 cup chocolate chips (optional) – Adds a decadent touch; use semi-sweet or milk chocolate for extra sweetness.
- 1/2 cup peanut butter (for drizzling) – A delicious finishing touch that complements the rich flavor of the bars perfectly.
How to Make lunch lady peanut butter bars
1. Preheat the oven to 350°F (175°C). Greasing a 9×13 inch baking pan will ensure your delicious bars release easily after baking.
2. Cream together 1 cup of softened unsalted butter, 1 cup of granulated sugar, 1 cup of packed brown sugar, and 1 cup of creamy peanut butter until smooth and fluffy. This creates the perfect base for your bars!
3. Add 1 teaspoon of vanilla extract and mix until combined. The vanilla will enhance the rich flavors of this sweet treat.
4. Whisk together 2 cups of all-purpose flour, 1 teaspoon of baking soda, and 1 teaspoon of salt in a separate bowl. This blend sets the stage for the ideal texture.
5. Gradually incorporate the dry ingredients into the wet mixture, stirring until just combined. Be careful not to overmix; you want those chewy bars to shine!
6. Spread the batter evenly into your greased baking pan. Aim for a nice even layer so every bite is just as delicious as the last.
Bake and Top:
7. Bake in the preheated oven for 20-25 minutes or until you see golden brown edges forming around your bars—this is when they’re perfectly done!
8. Remove from the oven and let cool slightly in the pan. This step is crucial; it allows the flavors to settle while keeping them warm.
9. Sprinkle chocolate chips over the top while still warm if desired, then drizzle with 1/2 cup of peanut butter for an extra layer of indulgence.
10. Allow to cool completely before cutting into bars. This will help them firm up nicely, making slicing easier!
Optional: Drizzle with additional melted chocolate for a decadent finish.
Exact quantities are listed in the recipe card below.
Expert Tips
- Butter Softness: Make sure your butter is softened to room temperature for easy creaming with sugars, ensuring a smooth base for lunch lady peanut butter bars.
- Sugar Balance: Use packed brown sugar for the right moisture and sweetness. This helps achieve that chewy texture we love in these bars.
- Mixing Method: Be careful not to overmix once you add the dry ingredients; this keeps your lunch lady peanut butter bars soft and prevents them from becoming tough.
- Chocolate Chip Timing: Sprinkle chocolate chips on while the bars are still warm but not too hot. This allows them to melt slightly and create a delicious topping.
- Cooling Completely: Allow the bars to cool completely before cutting. This ensures cleaner edges and prevents them from crumbling when you slice them.
How to Store and Freeze lunch lady peanut butter bars
- Room Temperature: Keep your lunch lady peanut butter bars in an airtight container for up to 3 days to maintain their chewy texture and rich flavor.
- Fridge: For longer freshness, store them in the refrigerator in an airtight container for up to a week. Just allow them to come to room temperature before enjoying!
- Freezer: You can freeze the bars for up to 3 months. Wrap them individually in plastic wrap and place them in a freezer-safe bag.
- Reheating: To enjoy warm, simply microwave a bar for 10-15 seconds until slightly warmed through. Enjoy that delicious peanut butter goodness!
lunch lady peanut butter bars Your Way
Feel free to get creative with this recipe and make it uniquely yours!
- Gluten-Free: Substitute all-purpose flour with a gluten-free blend for a delicious alternative. This swap keeps the bars just as chewy and satisfying, perfect for those with dietary restrictions.
- Nut-Free: Replace peanut butter with sunflower seed butter to avoid allergens while still enjoying that rich, nutty flavor. Your family will love these bars without missing a beat!
- Chocolate Lovers: Mix in 1 cup of chocolate chips directly into the batter for an extra sweet surprise. The melty chocolate will beautifully complement the creamy peanut butter, creating a decadent treat.
- Oatmeal Boost: Add 1 cup of rolled oats for added texture and heartiness. These chewy bars will have an enjoyable bite, making them perfect for breakfast or an afternoon snack.
- Spicy Kick: Incorporate a teaspoon of cayenne pepper into the batter for a surprising twist. The heat will perfectly balance the sweetness and create a delightful flavor explosion.
- Coconut Bliss: Fold in 1 cup of shredded coconut for added chewiness and tropical flair. The coconut pairs wonderfully with peanut butter, giving your bars an island-inspired twist.
- Fruit Fusion: Add 1 cup of chopped dried fruits like cranberries or apricots for natural sweetness and chewiness. These fruity bursts will brighten each bite and add a lovely contrast to the rich base.
Make Ahead Options
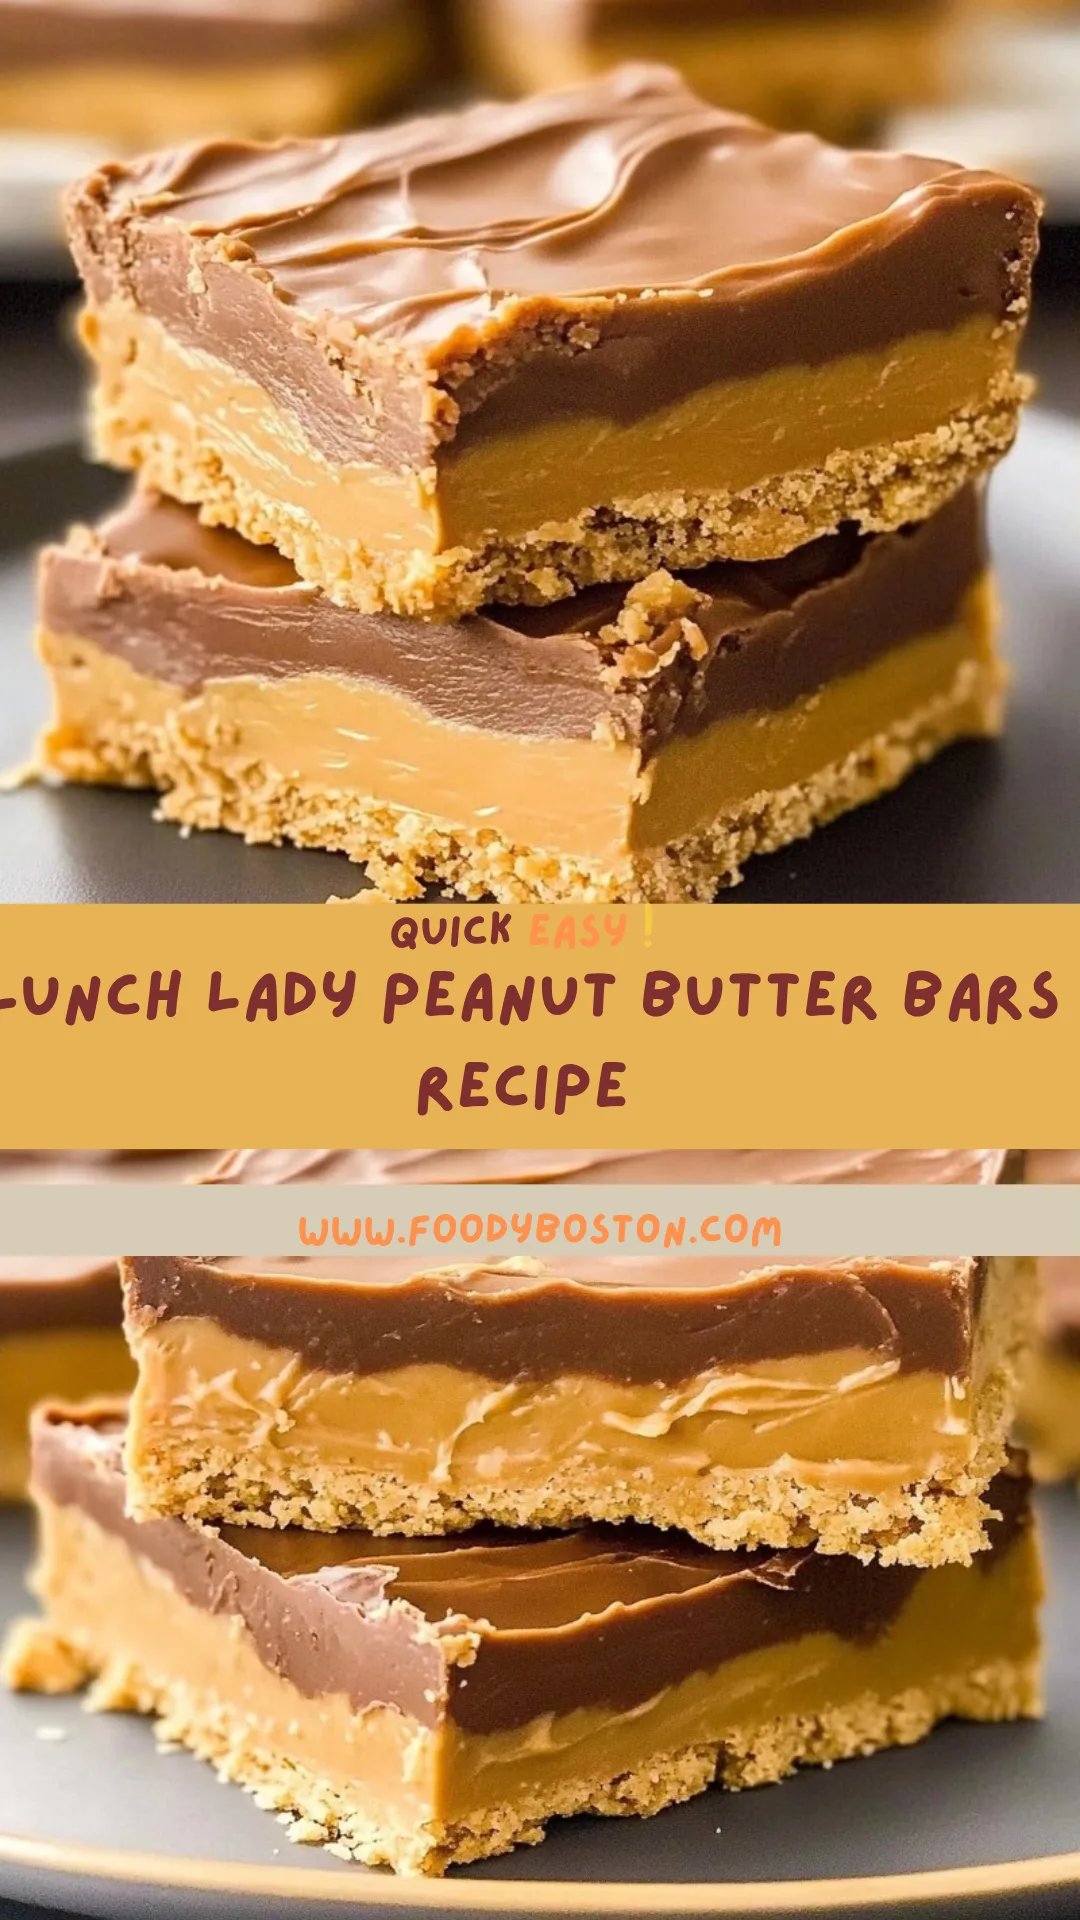
These delightful lunch lady peanut butter bars are perfect for meal prep, making them an excellent choice for busy families! You can prepare the base ahead of time by creaming together 1 cup of softened unsalted butter, 1 cup granulated sugar, 1 cup packed brown sugar, and 1 cup creamy peanut butter until smooth. Just add in the vanilla extract and mix until combined, then whisk together the dry ingredients: 2 cups all-purpose flour, 1 teaspoon baking soda, and 1 teaspoon salt. Mix these two mixtures together and spread it evenly in a greased baking pan. You can refrigerate this mixture for up to 24 hours before baking. When you’re ready to enjoy these treats, simply bake them at 350°F (175°C) for about 20-25 minutes. If you’d like to sprinkle chocolate chips on top or drizzle with peanut butter, do so while they’re still warm before allowing them to cool completely. This way, you can have fresh lunch lady peanut butter bars ready when you need them!
lunch lady peanut butter bars Recipe FAQs
Can I substitute the unsalted butter with margarine or coconut oil?
Yes, you can use margarine or melted coconut oil as a substitute for unsalted butter. Keep in mind that using coconut oil may impart a slight coconut flavor, which can be delicious!
What’s the best way to store leftover peanut butter bars?
Store your lunch lady peanut butter bars in an airtight container at room temperature for up to 3 days. If you want to keep them longer, refrigerate them for up to a week.
Can these bars be frozen for later enjoyment?
Absolutely! To freeze, wrap the cooled bars tightly in plastic wrap and then place them in a freezer-safe bag or container. They will stay fresh for up to 3 months. Just thaw them at room temperature before enjoying!
What if my bars turn out too dry or crumbly?
If your peanut butter bars come out too dry, it might be due to overbaking. Make sure to keep an eye on them around the 20-minute mark and remove them when the edges are golden brown but the center is still slightly soft.
How can I make these bars healthier or cater to dietary restrictions?
To make these bars healthier, consider substituting half of the all-purpose flour with whole wheat flour or using natural sweeteners like honey or maple syrup instead of granulated sugar. You can also look for gluten-free flour blends if needed!
What size should I cut the bars for serving?
For this recipe, you can cut the cooled dessert into 12 generous squares, each approximately 2×3 inches. If you prefer smaller bites, feel free to slice them into smaller pieces! Each serving is about 250 calories, so they’re perfect for a little indulgence.
Lunch Lady Peanut Butter Bars
Ingredients
Method
- Preheat the oven to 350°F (175°C). Grease a 9x13 inch baking pan.
- In a mixing bowl, cream together the softened butter, granulated sugar, brown sugar, and peanut butter until smooth.
- Add the vanilla extract and mix until combined.
- In a separate bowl, whisk together the flour, baking soda, and salt.
- Gradually add the dry ingredients to the wet ingredients, mixing until just combined.
- Spread the mixture evenly into the prepared baking pan.
- Bake in the preheated oven for 20-25 minutes, or until the edges are golden brown.
- Remove from the oven and let cool slightly.
- If using, sprinkle chocolate chips over the top while still warm, then drizzle with peanut butter.
- Allow to cool completely before cutting into bars.