
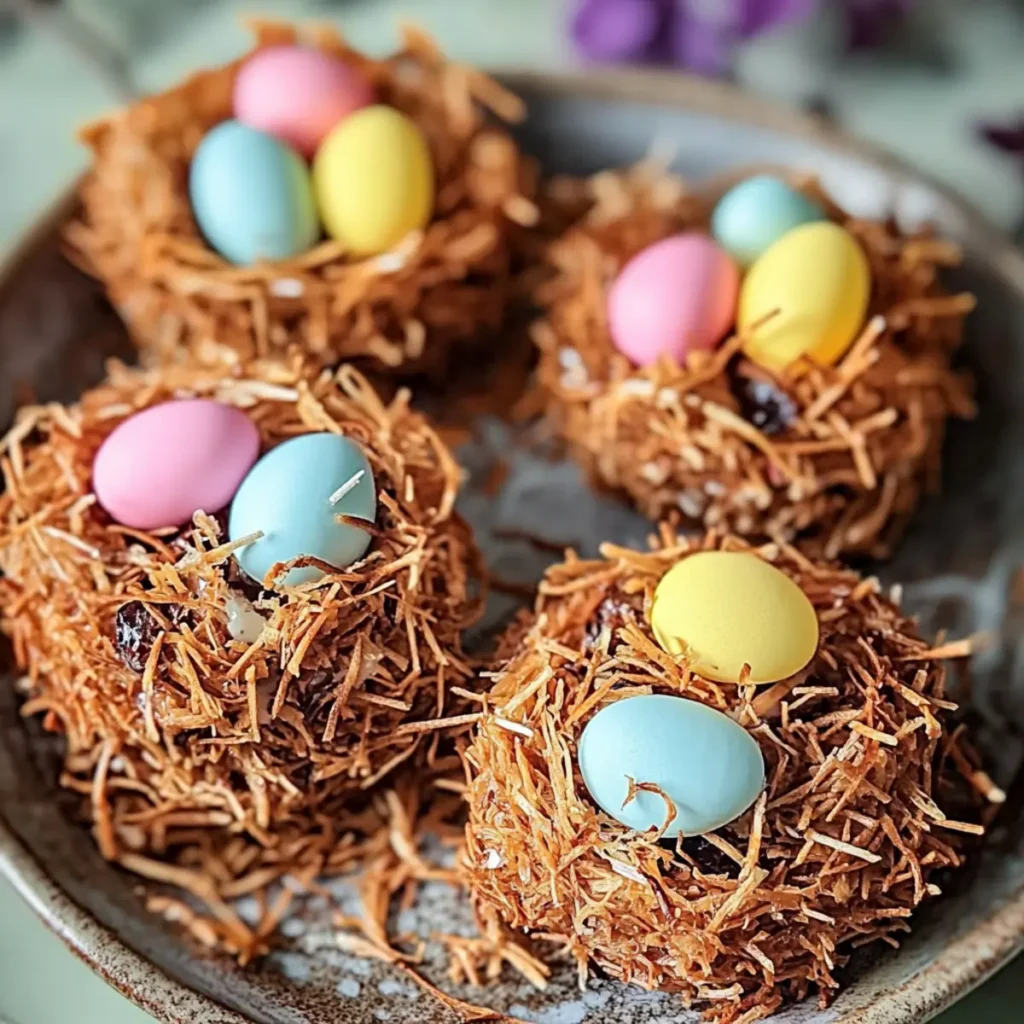
Nothing says spring like the delightful sweetness of Easter Nests, an easy and fun treat that bridges the gap between holidays and childhood memories. Imagine biting into a crispy, chocolatey nest filled with colorful candy eggs, reminiscent of playful hunts in the backyard, laughter echoing amidst blossoming flowers and bright blue skies. There’s nothing quite like indulging in these treats as the aroma of melted marshmallows wafts through your kitchen, inviting everyone to join in on the fun.
Easter is all about joy, family, and delicious desserts, and these cute little nests are no exception. Perfect for gatherings, school events, or simply satisfying your sweet tooth, Easter Nests bring a sense of nostalgia while allowing you to create new memories. So roll up your sleeves and get ready for a little sweet adventure—these nests are bound to be a hit!
Why You'll Love This Easter Nests
- This incredible Easter Nests transforms simple everyday ingredients into restaurant-quality flavors that will blow your mind completely.
- Foolproof recipe techniques guarantee perfect results every single time, making even novice cooks feel like professional chefs instantly.
- Stunning visual appeal with gorgeous colors and mouthwatering aromas creates the ultimate Instagram-worthy dish for any special occasion.
- Endlessly adaptable for different dietary needs while working beautifully for meal prep, date nights, or entertaining large groups effortlessly.
Ingredients for Easter Nests
Here’s what you’ll need to make this delicious Easter Nests:
3 cups chocolate cereal – Choose your favorite brand for a deliciously crunchy base; Cocoa Krispies work wonderfully.
2 cups mini marshmallows – These will add the gooey sweetness to your nests; they melt beautifully and help bind the mixture together.
1/2 cup butter – Use unsalted for better control over salt levels; it adds richness without overpowering the chocolate.
1 cup candy eggs – Feel free to mix and match colors and flavors; they’re the fun centerpiece of the nests.
Sprinkles (optional) – Add fun, festive colors to your nests, perfect for making them extra eye-catching!
How to Make Easter Nests
Follow these simple steps to prepare this delicious Easter Nests:
Step 1: Melt the Butter
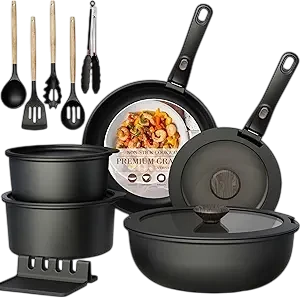
In a large saucepan, melt the butter over low heat, stirring gently. Your goal is to create a luxurious, buttery bath for the marshmallows, so patience is key here.
Step 2: Add the Marshmallows
Once the butter is melted, toss in the mini marshmallows and stir until they’re fully melted and incorporated. This mixture should be ooey-gooey; the smell alone will have your taste buds dancing!
Step 3: Combine the Cereal
Remove the saucepan from heat and add the chocolate cereal. Fold it into the marshmallow mixture until every piece is coated in that sweet, sticky goodness.
Step 4: Shape the Nests
Allow the mixture to cool slightly—just enough that you won’t burn your hands. Then, take spoonfuls of the mixture and shape it into nests on a parchment-lined baking sheet. Make sure to create a well in the center for the eggs.
Step 5: Add the Candy Eggs
Once your nests are shaped, carefully place a few candy eggs in the center of each one. Picture a nest filled with colorful jewels; it’s a sweet reward for your efforts!
Step 6: Optional Sprinkles
For a final touch, sprinkle some festive, colorful sprinkles on top of the nests. They add that extra pizzazz that just screams spring!
Serve these Easter Nests as a centerpiece at your dessert table, or pack them into colorful bags for an adorable homemade gift. Everyone will marvel at your sweet creativity, and you might just become the family’s go-to for fun treats. Enjoy every crunchy, chocolaty bite!
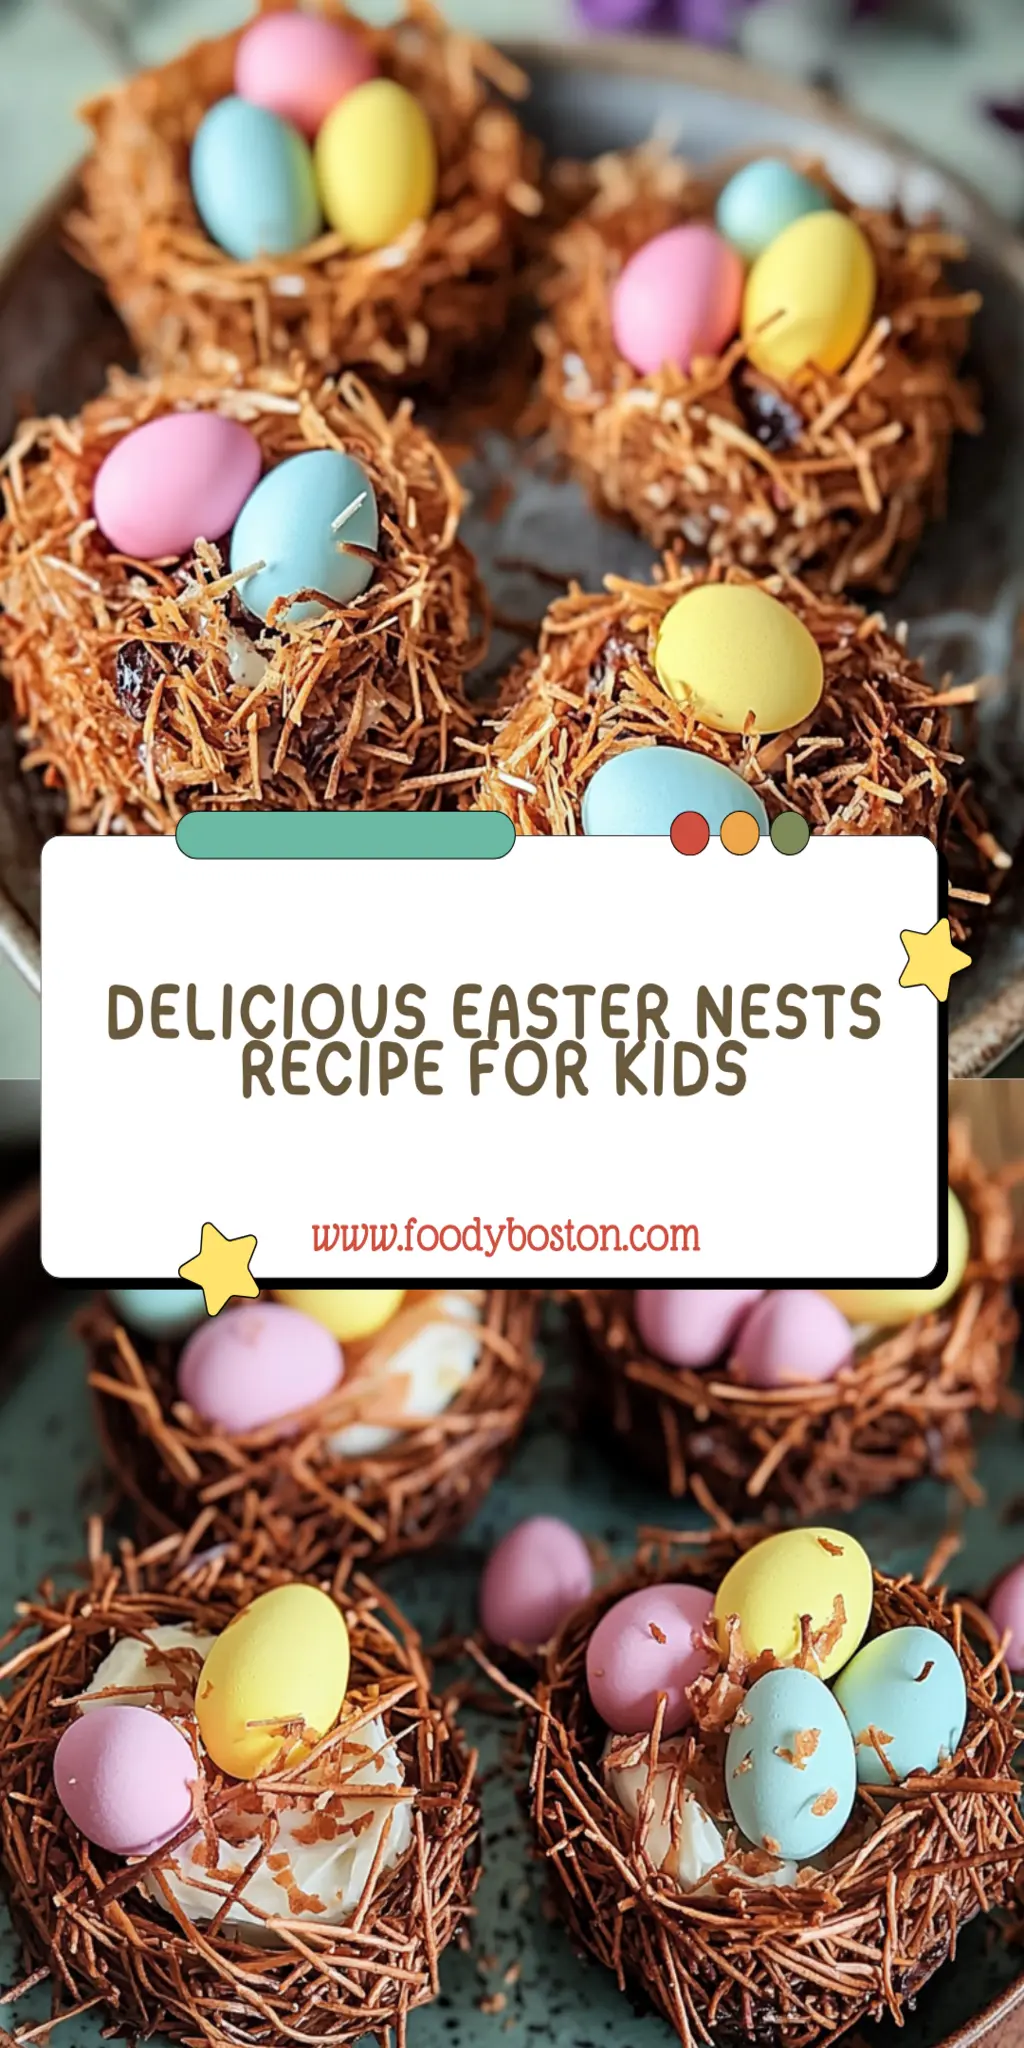
You Must Know About Easter Nests
- This showstopping Easter Nests delivers restaurant-quality results using simple ingredients you probably already have at home.
- The perfect balance of textures and flavors creates an unforgettable dining experience that will have everyone asking for seconds.
- Picture-perfect presentation with vibrant colors makes this dish absolutely Instagram-worthy and guaranteed to impress any dinner guest.
- Incredibly versatile recipe that works beautifully for weeknight dinners, meal prep, special occasions, or even outdoor entertaining sessions.
Perfecting Easter Nests Cooking Process
Start by melting the butter over low heat and adding mini marshmallows until they’re gooey. Remove from heat and mix in the chocolate cereal. Shape your nests, cool slightly, and place candy eggs in the center for the perfect treat.
Add Your Touch to Easter Nests
Feel free to personalize your Easter Nests by using different types of cereal, swapping out candy eggs for jellybeans, or adding nuts for an extra crunch. You can even tint the melted marshmallow mixture with food coloring for festive hues.
Storing & Reheating Easter Nests
Store your Easter Nests in an airtight container at room temperature for up to four days. Reheat in the microwave for a few seconds if they become too firm, but watch out—no one wants a crunchy nest!
Chef's Helpful Tips for Easter Nests
- This professional-quality Easter Nests relies on precise timing and temperature control to achieve restaurant-standard results consistently.
- Master the art of mise en place by prepping all ingredients beforehand, ensuring smooth execution and preventing any last-minute cooking disasters.
- The secret lies in layering flavors throughout the cooking process rather than seasoning only at the end for maximum depth.
- Pro tip: let the finished dish rest for optimal texture and flavor development before serving to hungry guests waiting eagerly.
The first time I made Easter Nests, my friends declared them an instant hit. They couldn’t believe it was a no-bake treat, and I still hear requests for them every spring!
FAQs About Easter Nests
What are Easter Nests?
Easter Nests are delightful no-bake treats made primarily from chocolate cereal, butter, and mini marshmallows. These nest-like creations are typically filled with candy eggs or other festive candies, making them a perfect sweet for celebrations like Easter. Their simple preparation process and celebratory appearance make them a favorite among families looking for fun, edible crafts to make together.
Can I customize my Easter Nests?
Absolutely! One of the best things about making Easter Nests is the freedom to customize them to suit your taste. You can swap out the chocolate cereal for your favorite variety, add different types of candies, or even mix in nuts for a crunchy twist. Plus, feel free to add a splash of food coloring to the marshmallow mixture for a pop of color—creating visually stunning nests that will excite everyone at your gathering!
How should I store Easter Nests?
To maintain their deliciousness, store your Easter Nests in an airtight container at room temperature. They can stay fresh for up to four days. If you find them getting a bit too firm, simply pop them in the microwave for a few seconds. However, be careful not to overheat them, as no one wants a crunchy, unappetizing nest!
How do Easter Nests compare to other Easter treats?
Easter Nests stand out among other Easter treats due to their unique texture and ease of preparation. Unlike traditional baked goods that require more time and effort, these no-bake nests are quick and fun to make, especially with kids. They also offer an interactive experience, allowing everyone to get creative with decorations while delivering that sweet chocolaty satisfaction we all crave during the holiday.
Conclusion for Easter Nests
In summary, Easter Nests are a scrumptious and enjoyable treat that brings joy to any festive gathering. Their versatility allows for endless customization, making them an exciting project for families. With just a few simple ingredients and a bit of creativity, you can create these delicious Easter Nests that everyone will love. So gather your loved ones, make some magical nests, and celebrate the sweetness of springtime together!
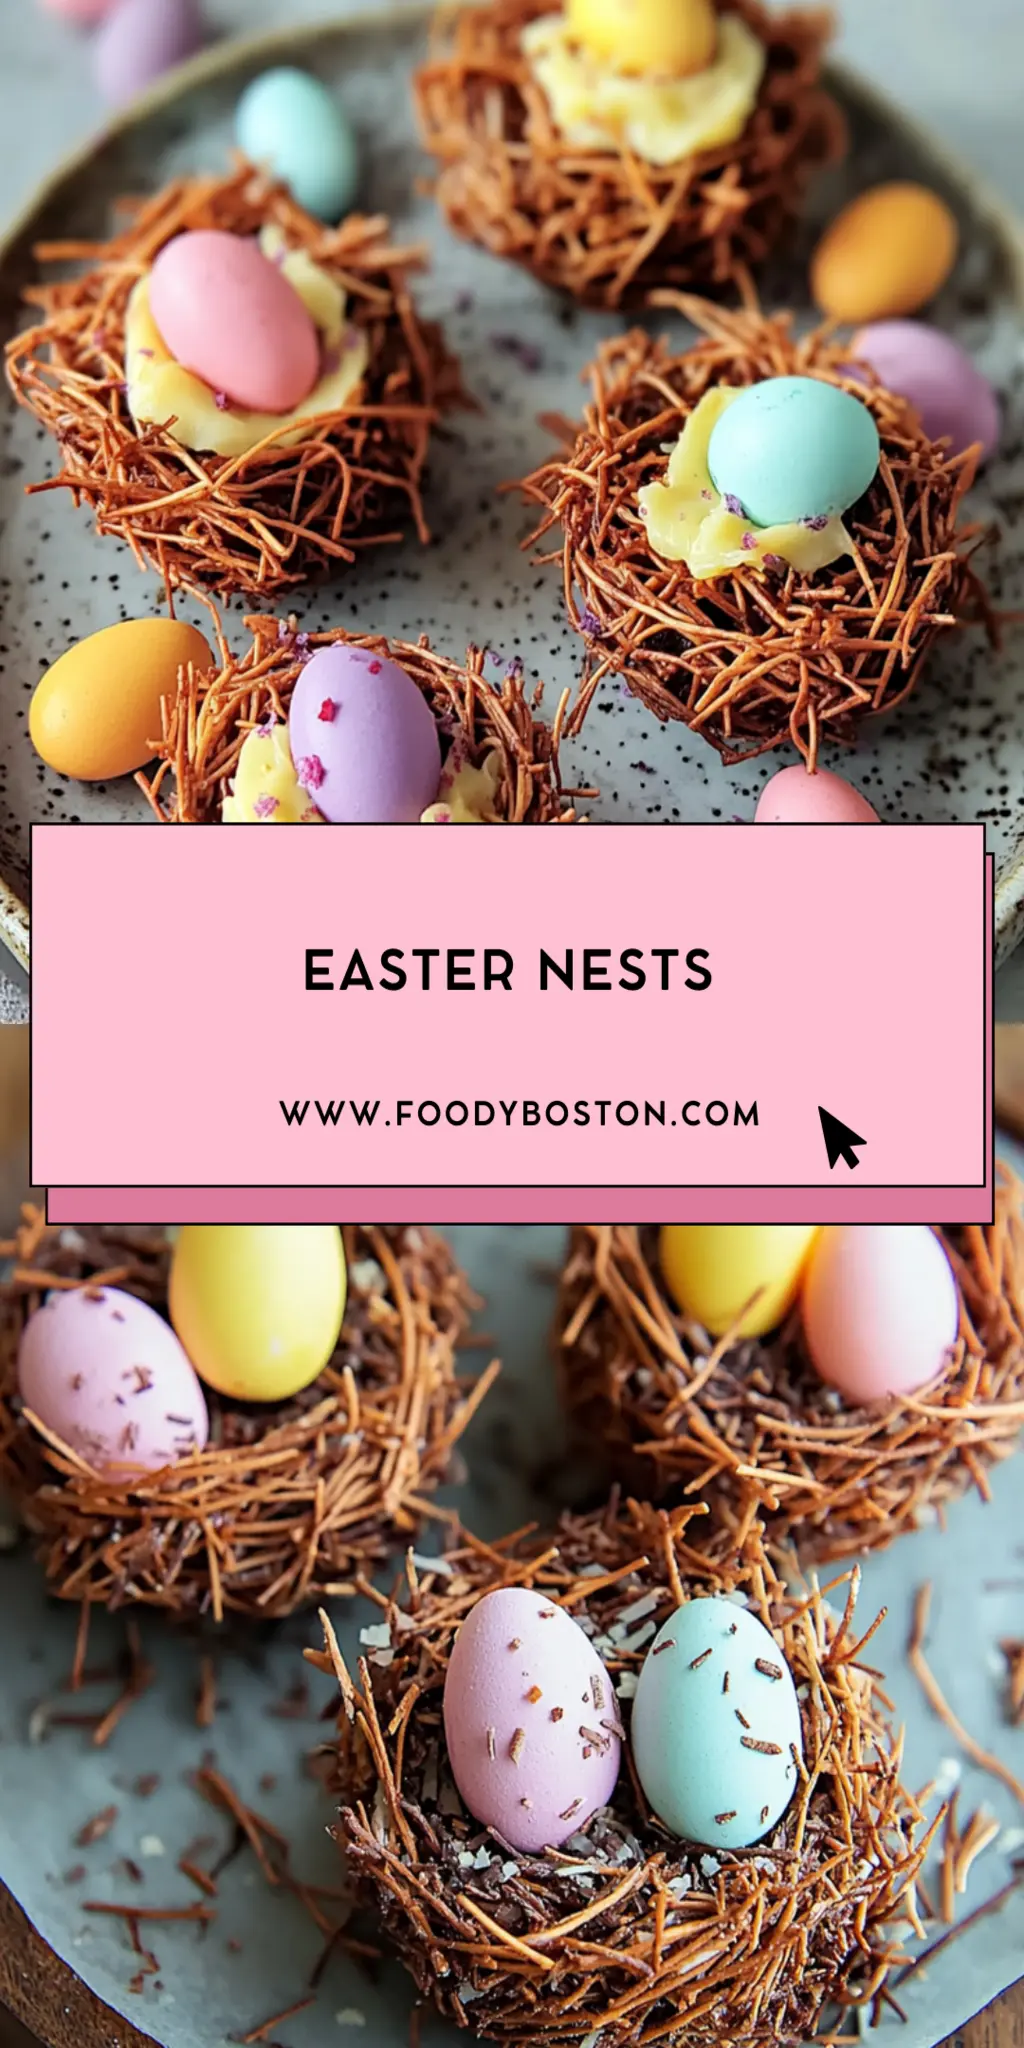
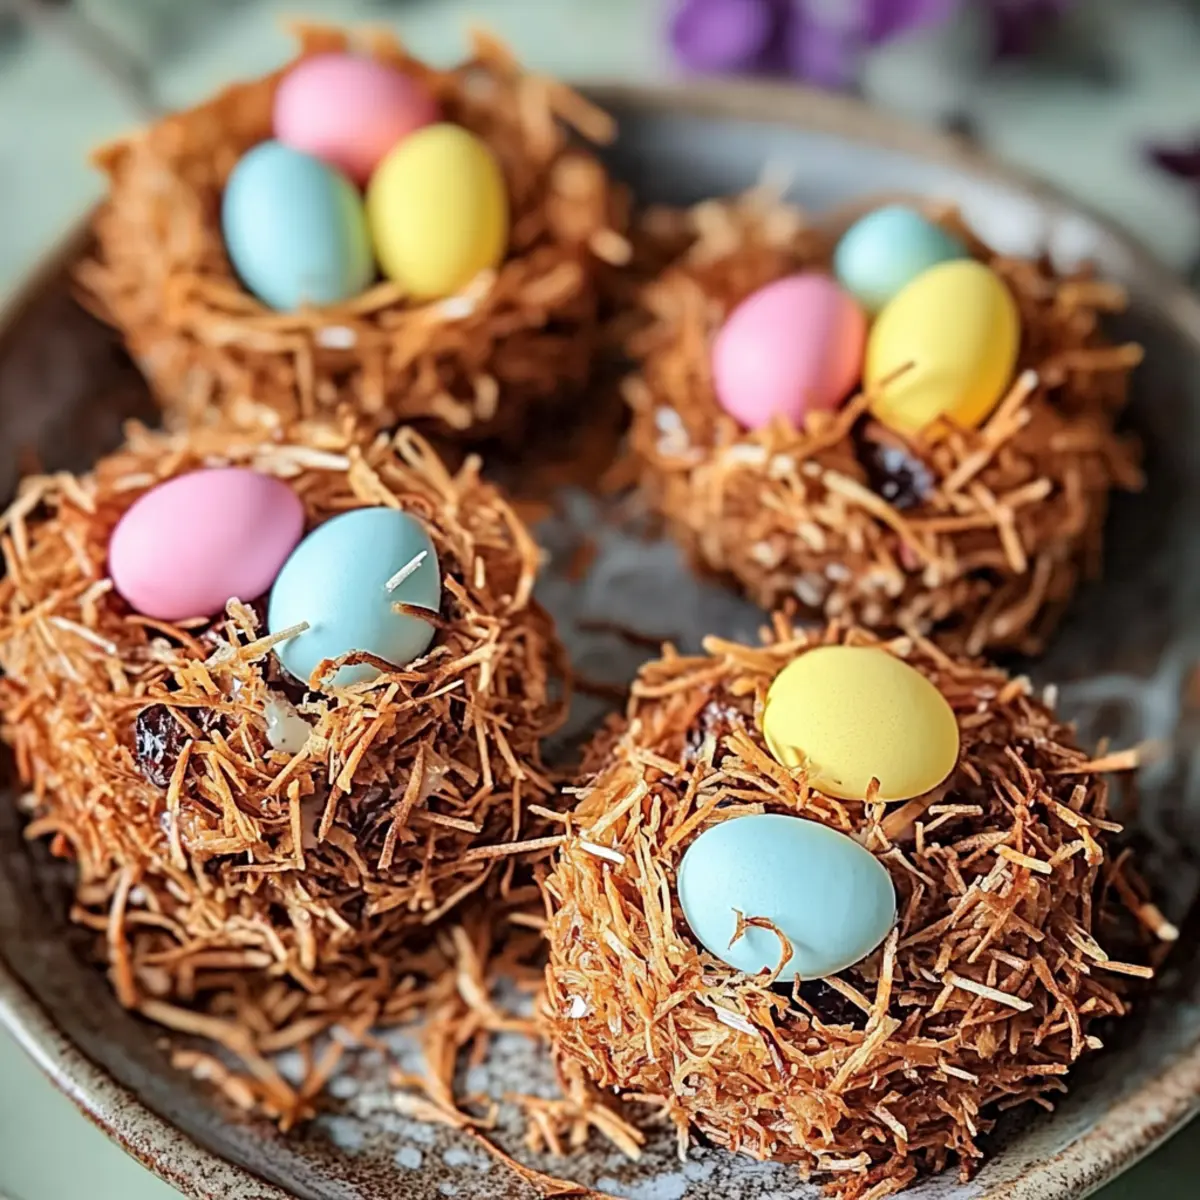
Delicious Easter Nests Recipe for a Sweet Spring Treat
Ingredients
Equipment
Method
- In a large saucepan, melt the butter over low heat.
- Add the mini marshmallows to the melted butter and stir until fully melted and combined.
- Remove the saucepan from the heat and stir in the chocolate cereal until evenly coated.
- Allow the mixture to cool slightly, then shape it into nest shapes on a parchment-lined baking sheet.
- Place candy eggs in the center of each nest.
- Add sprinkles on top, if desired.