
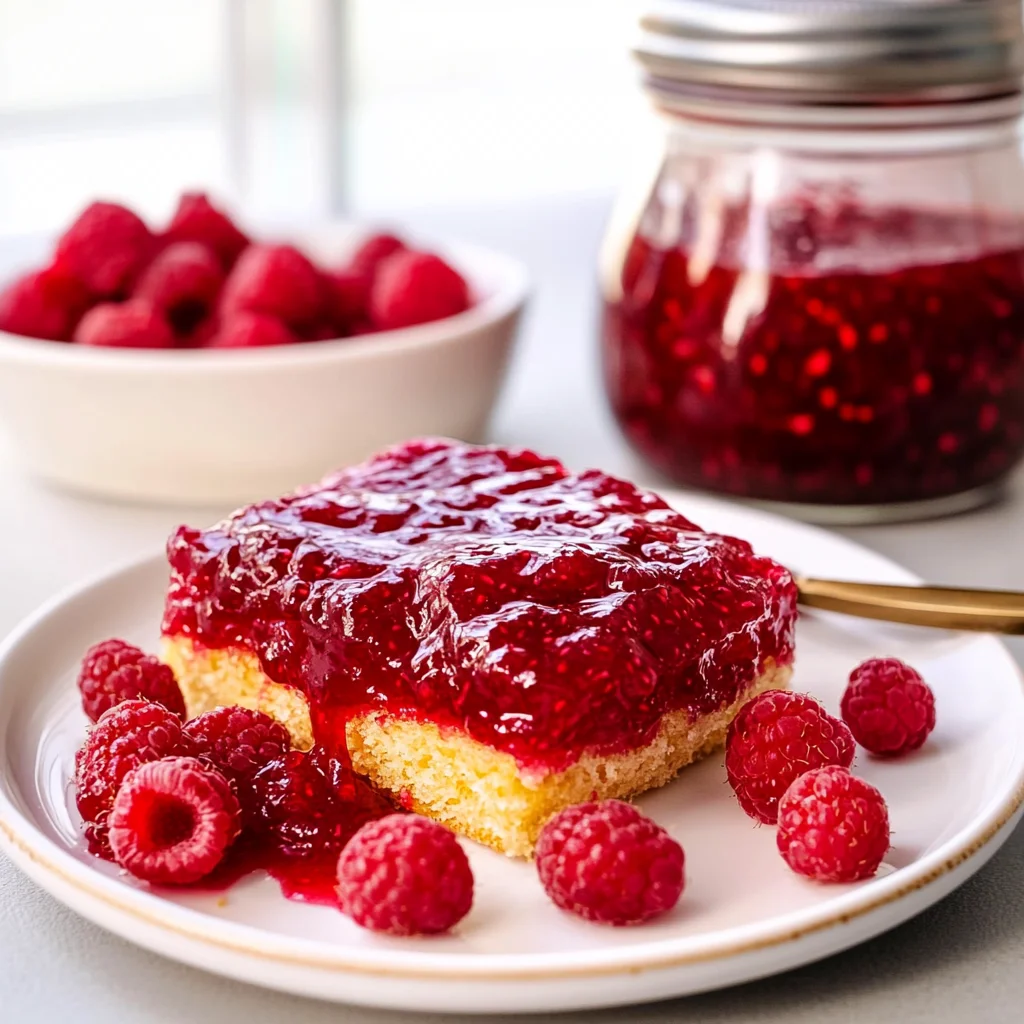
Imagine waking up to the delightful aroma of freshly toasted bread, slathered in a luscious homemade raspberry jam that bursts with sweet-tart flavor. Each spoonful is a vibrant dance of crimson goodness, with the juicy raspberries mingling perfectly with just the right amount of sugar, creating a spread that’s as comforting as a warm hug on a chilly morning.
This raspberry jam recipe isn’t just about preserving fruit; it’s about capturing memories and creating moments. Picture family gatherings where laughter fills the air, and everyone reaches for that jar of homemade bliss to brighten their day. Whether it’s a summer brunch or a cozy winter afternoon, this jam promises to elevate any occasion while making your tastebuds sing with joy.
Why Is raspberry jam recipe So Irresistibly Good?
Fresh raspberries deliver a burst of vibrant flavor that brightens any dish. Simple ingredients like sugar and lemon juice enhance that tangy sweetness, making it incredibly satisfying. Quick prep time of just 10 minutes means you can whip up this delicious jam on a whim. Versatile use in desserts or as a toast topping makes it a favorite for all ages. Plus, homemade goodness always beats store-bought!
raspberry jam recipe Ingredients
- For the Fruit
4 cups fresh raspberries (washed and stems removed) – Choose ripe raspberries for the best flavor and vibrant color in your homemade raspberry jam recipe.
- For the Sweetness
2 cups granulated sugar (adjust to taste) – This sweetens the jam; feel free to adjust based on your preferred sweetness level.
- For the Brightness
1 tablespoon lemon juice (freshly squeezed) – The acidity from lemon juice enhances the flavor and helps with preservation.
- For Thickening
1 packet pectin (for thickening) – Pectin is essential for achieving that perfect jam consistency, ensuring your spread is just right.
How to Make raspberry jam recipe
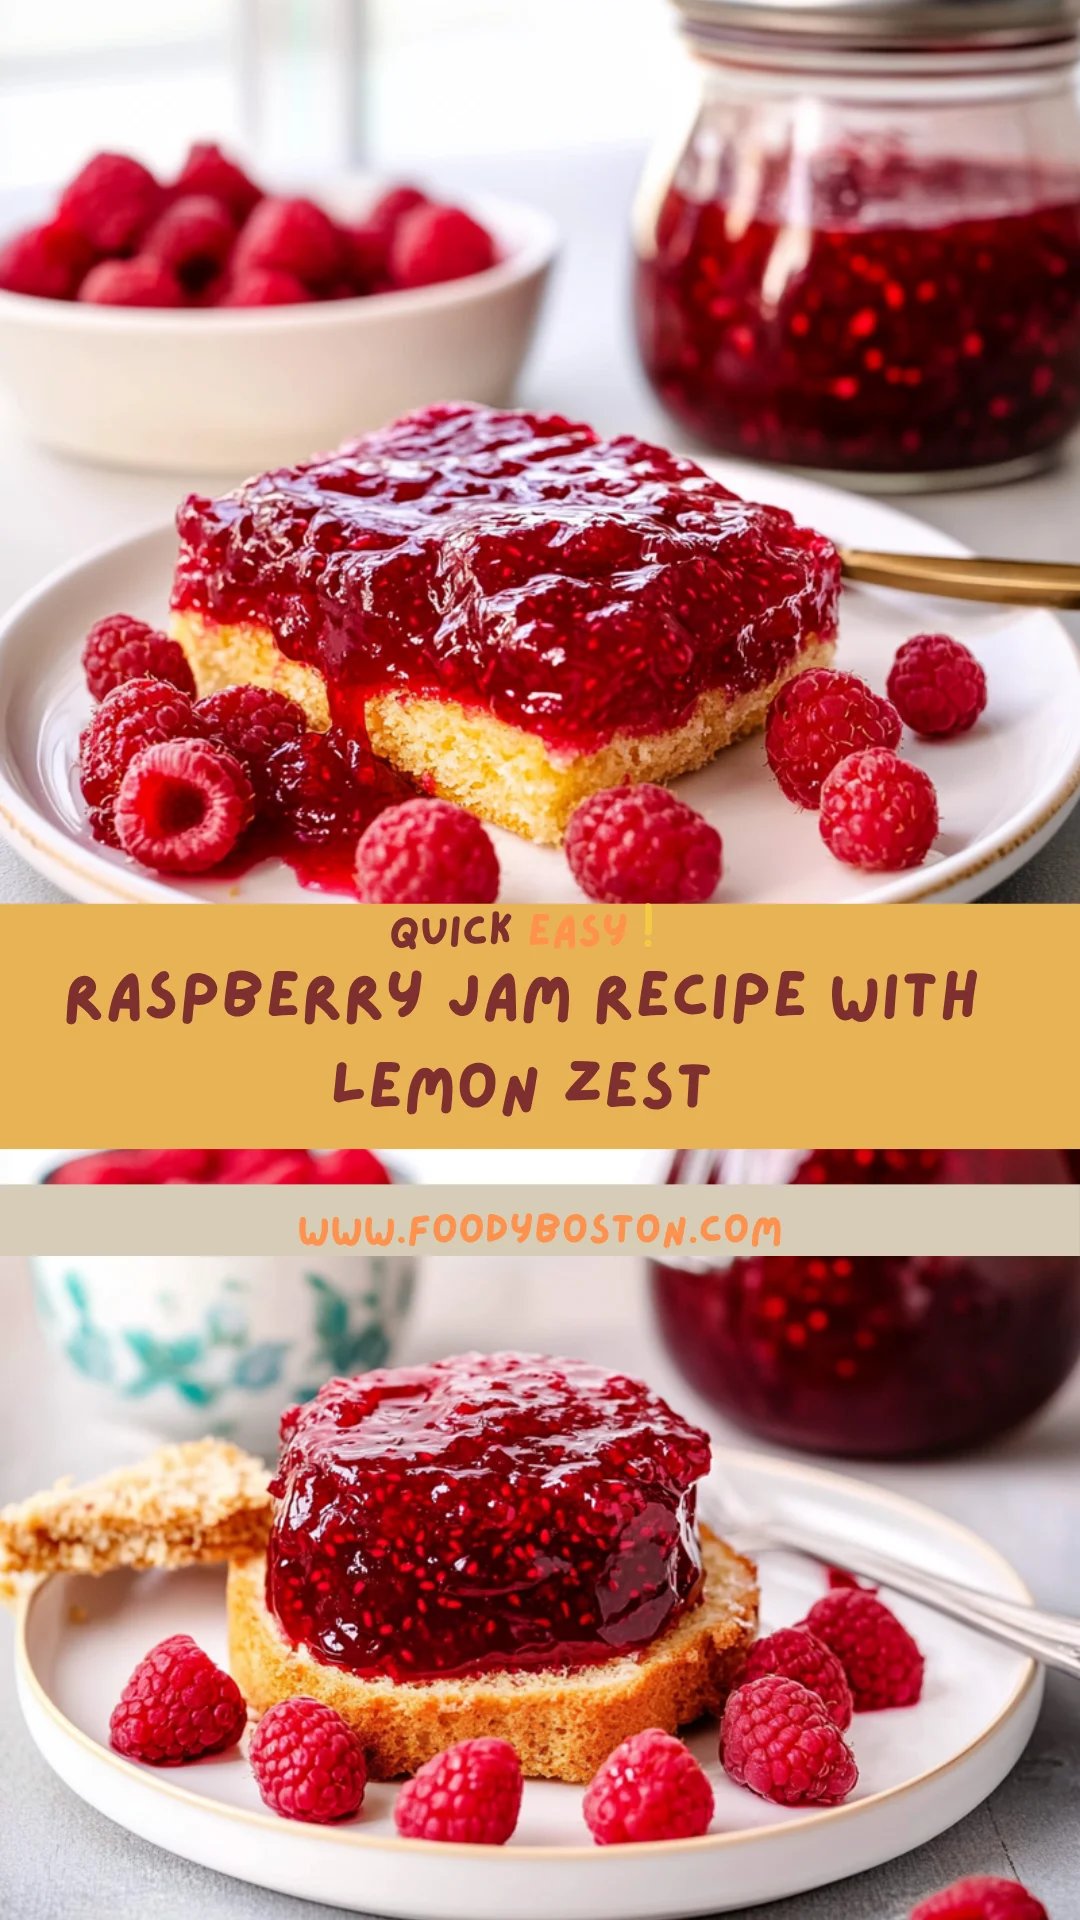
1. Combine In a large pot, combine 4 cups of fresh raspberries (washed and stems removed) with 1 tablespoon of freshly squeezed lemon juice. Gently mash the raspberries with a wooden spoon to release their juicy essence.
2. Add Next, add 2 cups of granulated sugar and 1 packet of pectin to the pot. Stir well to blend everything together and bring the mixture to a boil over medium heat, watching for bubbles to form.
3. Cook Once boiling, continue to cook the jam for about 10-15 minutes. Stir frequently as it thickens; you want a glossy texture that coats the back of a spoon.
4. Ladle Remove the pot from heat and carefully ladle the hot jam into sterilized canning jars, leaving about 1/4 inch of headspace for expansion during cooling.
5. Seal Secure the jars with lids and process them in a boiling water bath for 5-10 minutes. This ensures your raspberry jam is sealed properly and ready for storage.
6. Cool Allow the jars to cool completely at room temperature before storing them in a cool, dark place. Enjoy this sweet reward when you pop open a jar!
Optional: For an extra burst of flavor, consider adding a sprinkle of cinnamon before sealing.
Exact quantities are listed in the recipe card below.
Pro Tips for raspberry jam recipe
- Choose Ripe Berries: Select plump, ripe raspberries for the best flavor. Overripe or mushy berries can lead to a watery jam.
- Adjust Sugar Levels: Start with 2 cups of sugar, but feel free to reduce it based on your sweetness preference and the natural tartness of your raspberries.
- Don’t Skip Pectin: Using pectin is essential for achieving that perfect jam consistency. If you skip it, your jam may end up runny.
- Watch the Boil: Keep an eye on the boiling mixture; stirring frequently helps prevent burning and ensures an even thickness throughout the raspberry jam recipe.
- Headspace Matters: When filling jars, leave about 1/4 inch of headspace. This allows for expansion during processing and prevents jar breakage.
- Cool Properly: Allow the jars to cool completely at room temperature to create an airtight seal. Avoid moving them until they’re fully cooled!
How to Store and Freeze raspberry jam recipe
- Fridge: Store your raspberry jam in an airtight container for up to 3 weeks. This keeps it fresh and ready for your morning toast or dessert creations.
- Freezer: For longer storage, freeze the jam in freezer-safe containers or bags. It can last up to 1 year, preserving that sweet-tart flavor perfectly.
- Thawing: To enjoy your frozen raspberry jam recipe, simply thaw it overnight in the fridge before use. Give it a gentle stir if separation occurs.
- Refrigerating After Opening: Once opened, always refrigerate your raspberry jam and consume within 2-3 weeks for the best taste and quality.
raspberry jam recipe Your Way
Feel free to let your creativity shine as you customize this delightful spread to suit your taste!
- Low-Sugar: Reduce sugar to 1 cup for a lighter version; the jam will be less sweet but still delicious. You can also experiment with natural sweeteners like honey or agave syrup for added flavor while keeping it healthier.
- Spicy Kick: Add a pinch of cayenne pepper or finely chopped jalapeño during cooking for a surprising heat. This twist gives your jam an exciting contrast, perfect for pairing with savory cheeses.
- Herbal Infusion: Stir in a few sprigs of fresh basil or mint while cooking for a refreshing twist. The herbs will infuse their flavors, creating a unique and aromatic jam that brightens any breakfast table.
- Citrus Burst: Replace lemon juice with orange juice for a sweeter, citrusy flavor. This variation brings a lovely brightness to the jam, making it perfect for summer brunches or as an ice cream topping.
- Berry Medley: Combine raspberries with blackberries or blueberries in equal parts for a mixed berry jam. This combination adds depth and complexity, creating a vibrant spread that’s bursting with flavor.
- Vanilla Essence: Add 1 teaspoon of pure vanilla extract before bottling to enhance the sweetness. The warm notes of vanilla will elevate your jam, making it an irresistible addition to desserts or toast.
- Chia Seed Jam: Substitute pectin with 1/4 cup of chia seeds; they will thicken the mixture naturally. This healthy alternative not only boosts fiber but also adds a delightful texture to your homemade jam.
- Nutty Addition: Stir in chopped walnuts or almonds after cooking for added crunch and richness. The nuts provide an interesting texture contrast that complements the smoothness of the raspberries beautifully.
Make Ahead Options
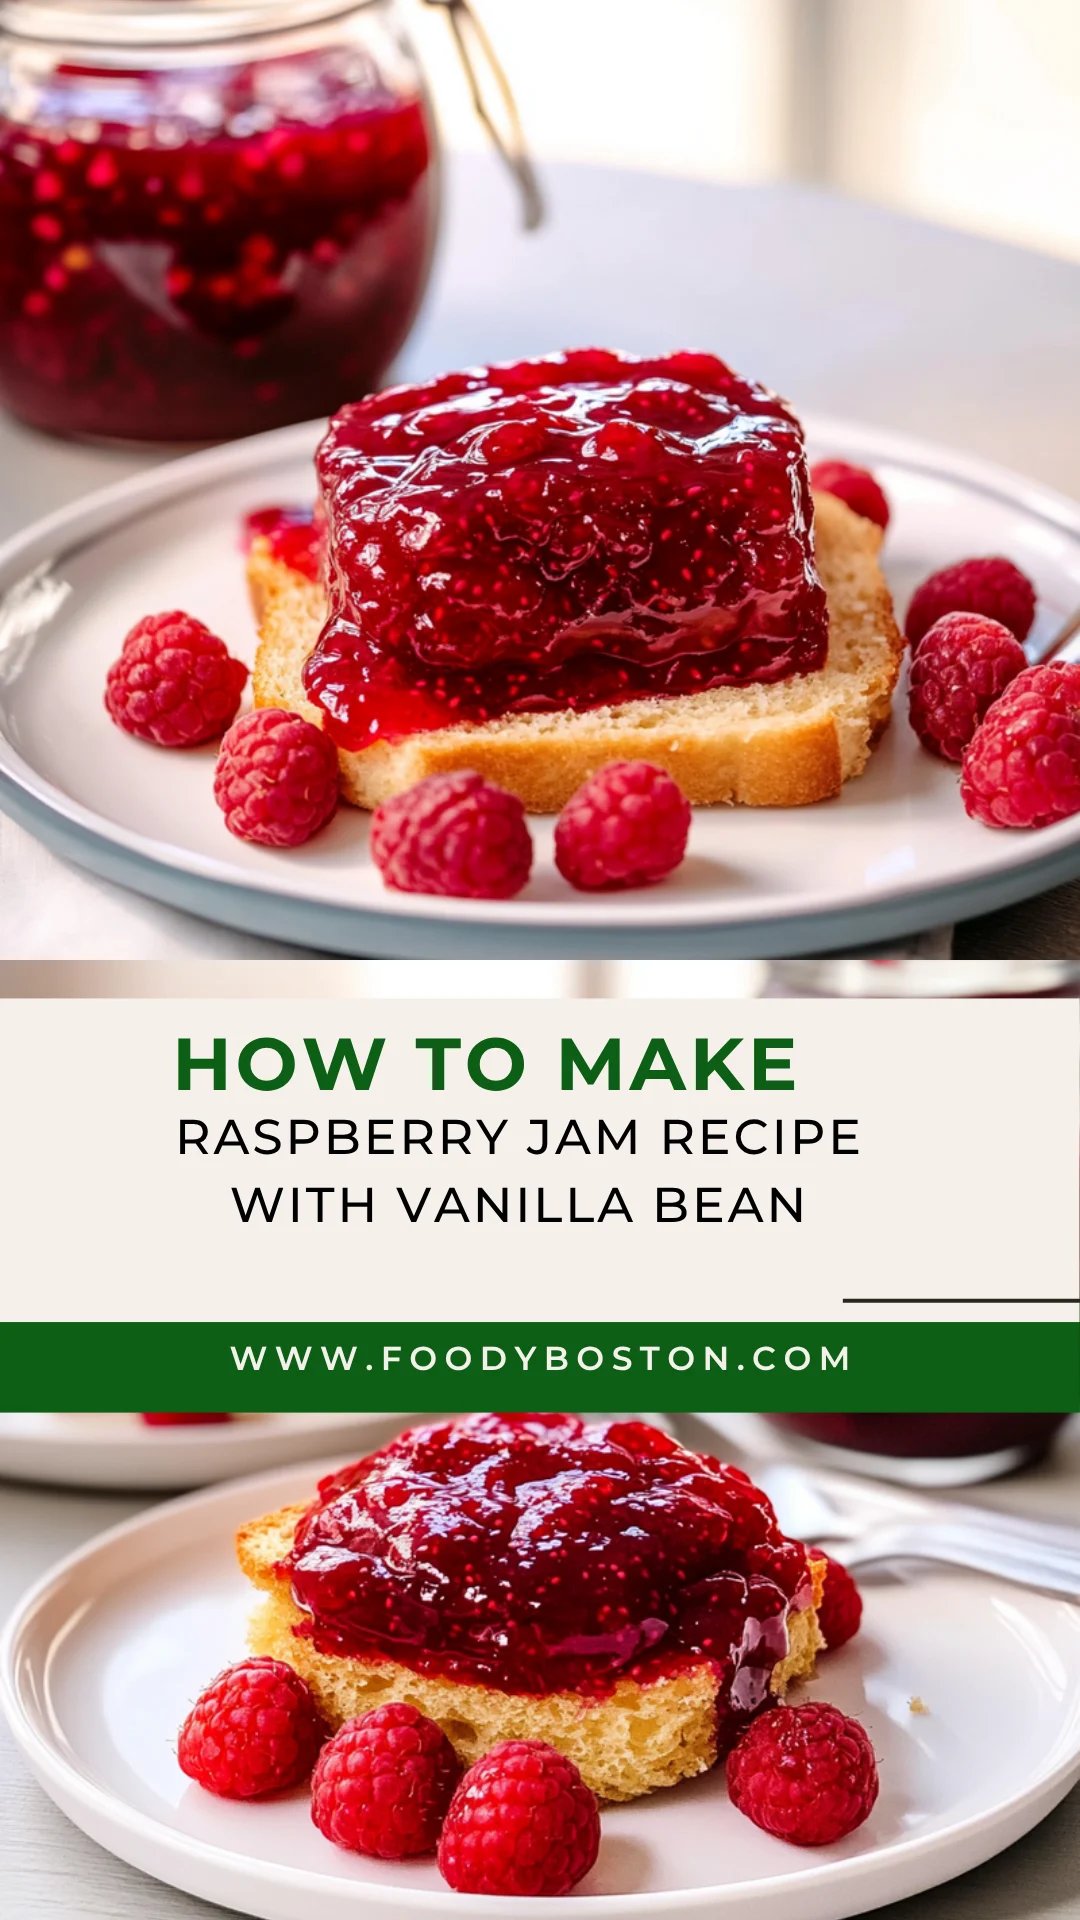
Preparing your raspberry jam recipe in advance is a wonderful way to save time and ensure you’re always ready to enjoy this sweet and tangy delight. You can wash and remove the stems from the 4 cups of fresh raspberries and combine them with 1 tablespoon of freshly squeezed lemon juice up to 24 hours ahead of cooking. Simply store them in an airtight container in the refrigerator until you’re ready to make the jam. On cooking day, follow the steps: mash the raspberries, add 2 cups of granulated sugar and 1 packet of pectin, then bring the mixture to a boil. Once thickened, ladle it into sterilized jars. Remember, after sealing, process them in a boiling water bath for 5-10 minutes to maintain quality. By prepping these ingredients ahead, you’ll not only streamline your process but also savor that homemade taste with minimal effort!
raspberry jam recipe Questions Answered
How do I choose the best raspberries for my jam?
Look for fresh raspberries that are plump, firm, and vibrant in color. Avoid any that appear mushy or have dark spots. If you can, pick them at their peak ripeness, when they’re sweet and fragrant. This will ensure your raspberry jam has that delightful, rich flavor!
Can I reduce the sugar in this raspberry jam recipe?
Yes, you can definitely adjust the sugar to your taste! While the original recipe calls for 2 cups of granulated sugar, you might try reducing it to 1.5 cups for a less sweet option. Just keep in mind that sugar acts as a preservative and helps with the jam’s consistency, so your final product may be a bit looser.
What can I use instead of pectin for thickening?
If you prefer not to use commercial pectin, you have a couple of options! You can cook the raspberries longer to naturally thicken the jam; this might take an additional 10 minutes or so. Alternatively, using a tablespoon of chia seeds can also help thicken your jam while adding some extra nutrients!
How should I store my homemade raspberry jam?
Once cooled, store your sealed jars in a cool, dark place. They should last up to one year if properly canned. After opening a jar, keep it refrigerated and enjoy within 2-3 weeks for the best flavor and freshness!
Can I freeze raspberry jam?
Absolutely! To freeze your raspberry jam, simply pour it into freezer-safe containers or jars (leaving some headspace) and seal tightly. It’s best enjoyed within a year of freezing but will still be delicious well beyond that. Just thaw in the refrigerator before using!
What’s the serving size for this raspberry jam recipe?
This recipe yields about 4 servings, with each serving containing approximately 100 calories. A generous spoonful on your morning toast or as a filling in desserts makes for a delightful treat!
Raspberry Jam
Ingredients
Method
- In a large pot, combine the raspberries and lemon juice. Mash the raspberries gently with a wooden spoon to release their juices.
- Add the sugar and pectin to the pot. Stir well to combine and bring the mixture to a boil over medium heat.
- Once boiling, continue to cook for about 10-15 minutes, stirring frequently, until the mixture thickens.
- Remove the pot from heat and ladle the hot jam into sterilized canning jars, leaving about 1/4 inch of headspace.
- Seal the jars with lids and process in a boiling water bath for 5-10 minutes to ensure they are sealed properly.
- Allow the jars to cool completely at room temperature. Store in a cool, dark place.